Showing posts with label Morsels. Show all posts

Tuesday, May 15, 2012

Recipe: Berry and Pineapple Fluff

I know several people right now trying to lose weight, and the biggest complaint I hear is the lack of dessert. Now while I'm all for eating healthier, we need to also remember that dessert is an important part in the maintaining of the  "I'm not gonna kill you because I just had some yummy sweets and I'm over your attitude" portion of our brains. So, in an effort to help all you wonderful followers, I thought I would share this easy, delicious, low fat, and super healthy dessert you can make in less than 5 minutes!

The ingredients are super simple:
1 package of Whipped Topping
1 cup of Assorted Berries
1/2 cup of Crushed Pineapple (drained)
1/2 cup of Broken or Chopped Nuts

Seriously, that's it. Stir it all together, and voila!


For mine, I used chopped strawberries and raspberries, but any berry will do! Just chop the bigger ones into smaller pieces or slices. Since I don't diet, I went all out and used the fattening sugar soaked whipped topping, but fat free, sugar free, and other varieties work just as well. For the nuts, it's up to you! I love walnuts and pecans in mine, but my grandma uses almonds or black walnuts in hers'. It's all up to your personal taste.

I hope this helps bring the dessert back into diet! 

Love and Lightning Bugs,
Photobucket

Wednesday, March 21, 2012

Bento Journey: Apple Rabbit Tutorial


As you know, I'm a huge fan of Bento. Part of the fun of Bento is to see how cute and creative you can get your food to look. I have gotten a few requests for Bento Tutorials, so I thought this would be a good time to start! Let's start with something easy, that even non-Bento makers can do: Apple Cutting!

The equipment and supplies you need:


All you need to cut your apples are shown here. A cutting board, a sharp small knife (here I have a serrated one, but a smooth bladed one is better really), a toothpick, and a bowl filled with acidulated water (cold water with some lemon juice in it) to dunk the apple slices in to stop them from turning brown.

Apple bunnies (Usagi Ringo)
Apple bunnies, or usagi ringo (うさぎりんご)are the most commonly seen decorative apple cut. It’s also one of the most simple, so I thought I’d go over it, and explain how to establish some basics of decorative apple cutting.

First, cut out a wedge from the apple, and cut out the core. Score the skin with a V shape with your knife, as shown.


Carefully lift out the center V point (the part you’re going to cut away) with your knife. This helps to make a clean point there.


Cut under the outer points (the ears) fairly close to the skin. Cut them all the way down to the center V point.


Peel away the center skin, taking care not to cut into the ears.


Voilà, your apple bunny! You can cut eyes in, stick in cloves there, or just leave the ‘face’ bare, for a modern minimalist bunny.


After you’ve finished cutting, dunk the apple wedge into the bowl of acidulated water. You might want to dip the wedge while you’re working on it, if you see it turning brownish. This will also make the bunny ears stick up and curl up a bit.


So to review, here are the basics of decorative apple cutting:
·         Cut out a wedge and cut away the core.
·         Score the surface with a sharp knife.
·         Cut away the parts you don’t want, working from the corners first.
·         Dunk in acidulated water to stop it from turning brown.


I hope that helps those of you who want to add a bit of fun and cheer to an everyday snack. I find that most people I meet while snacking on these love them, and it seems to help some of those more picky eating kids too.

Love and Lightning Bugs,
Photobucket

Tuesday, March 13, 2012

Bento Journey: Quick and Simple

Well, I made a pretty simple Bento for tomorrow's lunch...nothing special, but it was quick and should be pretty filling.


This is my first Bento box, and yeah, it's full of cucumber rolls. The whole thing top and bottom. I tried to make them stay together better than last time, and while I think I accomplished that, next time I buy rice I'm getting short grain rice. Yep, I've been using long grain rice...


But these do look pretty good, don't you think?


This is my second Bento box, top filled with macaroni and cheese, and I added two hot dog octipi as well. They're legs arene't perfect, but they're just going to be eaten, so it's not super important that they be symmetrical. The bottom is filled with cucumber slices and carrot sticks, which seem to be new addiction, as I have them in pretty much every Bento I make. The very very top has a couple cheese slices in it.


This is just a close-up of my hot dog octopus. I tried to put a mouth on him, but it ended up just looking bad I think....

Love and Lightning Bugs,
Photobucket

Sunday, March 11, 2012

Bento Journey: Carrot Flowers Art

Well, I just finished my lunch for tomorrow, and I really have to say I'm proud of myself! I attempted a couple things I have never done, and though they may not look perfect, they will be super yummy!

I took this under some crappy light, so please forgive the awful picture. I have found that one Bento usually doesn't have quite the amount of food I need, since I'm Hypoglycemic, and have to eat pretty often...so I got two!

In the top of my first Bento, I have some cucumber rolls. I've never made any kind of sushi roll before, and as you can see, they look rather torn and not quite together. My knife wasn't sharp enough, and I don't think my rolls were firm enough...but I ate the ends, and they were tasty!

In the bottom of the same Bento, I just have a few carrot and cucumber slices, to snack on between classes.


In the bottom of my second Bento, I have a small grilled cheese quesadilla, with sriracha sauce already cooked inside. Most of you know this as 'Rooster' or 'cock' sauce.

In the top of my second Bento, I tried to do a bit of food art...but since I've never done this before, it looks a little silly. I used the rest of my rice as a base, then used the last three cucumber slices from my rolls and placed them in the rice. I cut some carrot slices to semi resemble flowers, and put a layer of nori on top, to look like grass. Like I said, not perfect, but should be yummy!

Love and Lightning Bugs,

Photobucket

Saturday, March 10, 2012

The Start of my Bento Journey

Well, as we all know, the economy is hitting some of us pretty hard. I know I'm always looking for ways to save money, and I bet you are too. Well, my search for a way to pinch pennies reminded me of how I used to take my lunches as a kid, and...well, why not do it again?

I have always had a love for anything Japanese, Korean, etc., and upon receiving a rice cooker as a gift, I knew just the PERFECT way to start taking my lunches...a Bento! Now, I know many of you most likely have no idea what a Bento is. Bento is a traditional Japanese single portion meal, consisting of four parts rice, three parts meat, two parts veggie, and one part treat or sweet. It's very healthy, and even though it doesn't sound like it, it's VERY filling.

The best part of Bento though, is the fact that you can make it with really anything, not just traditional Japanese food items. Oh, and it's one of the funnest ways to brighten a dull day. Who can be cranky when you open your Bento box, and see this inside?


Did I forget to mention Bento is all about how cute you can make your food? That's right, everyday boring food items can suddenly become adorable with th use of rice molds, cookie cutters, fun toothpicks, and a bit of imagination. Let's see fi you can figure out what these fun Bento's are made of?


While it's not necessary to have a proper Bento box to store your food creation in before you eat it, it does help keep your rice from drying out. These are my Bento boxes. They are two tiered, and have a compartment on the top for my chopsticks or utensils. I simply adore them.


However, a simple Tupperware or plastic container will work, you just have to be sure to wrap up your rice first, so it won't dry out before lunch time! Like I stated before, you don't have to use all traditional Bento foods either. Here's a fun Bento made our of just cheese, bread and fruit, making it a great snack for kids!


So there you have it; Bento. It's a fun way to eat, that's healthy, portion controlled, and cheap! But I digress...I started making Bento only Tuesday, so I want to kind of chronicle my Bento's that I make for school, and see if I get any better at it. :)

This was my Bento on Wednesday, and I have to admit, for my first time ever, I was kind of proud. But it was BLAND. I always use raw veggies, since cooking them takes away a lot of the nutrients. I peeled and sliced a carrot and part of a cucumber, gave the shavings to my bunnies, and started working!


It's just plain rice, carrot and cucumber slices and cubes, and cucumber stuffed onigiri. I used a cookie cutter to make the cucumber giraffe heads. Since I didn't have my Bento boxes yet, the rice dried out, and since it had no sauce, it was kind of hard to get down. SO I decided to change things up for Friday's lunch.


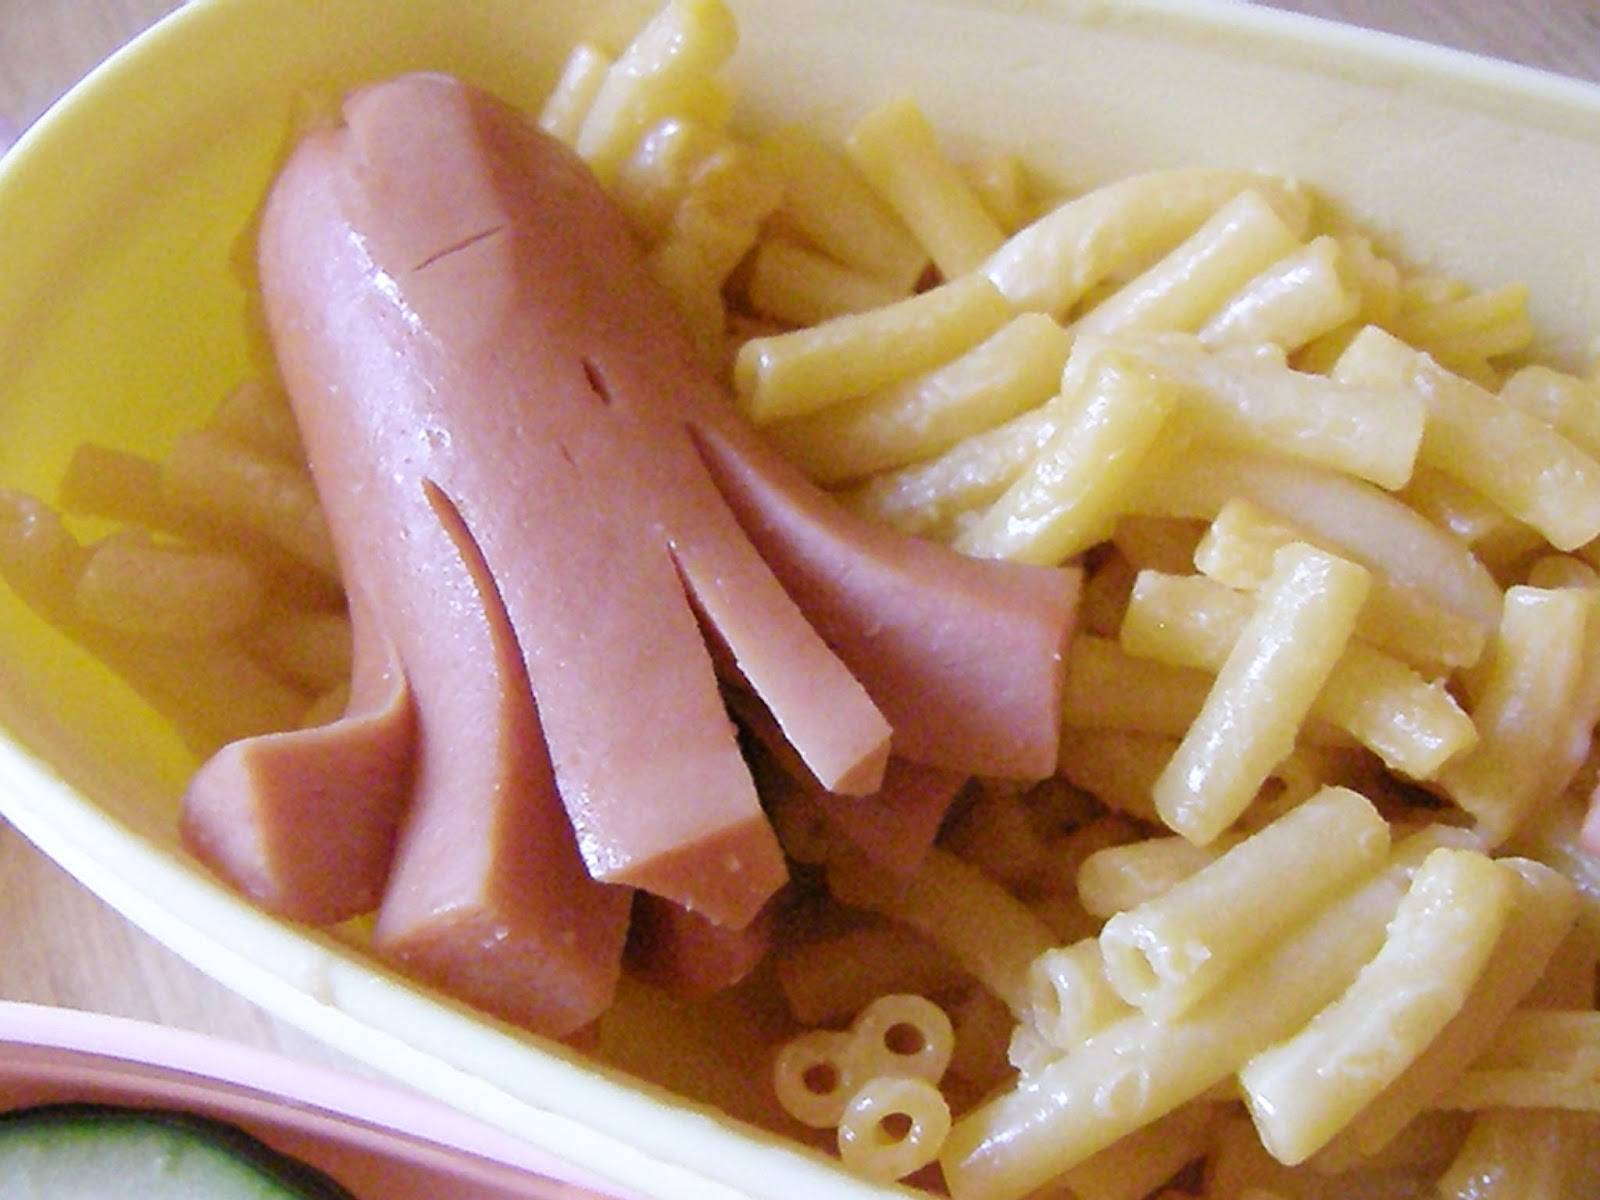
For Friday, I skipped the rice all together! I made a strawberry jam sandwich, and used a Dolphin cookie cutter to make two smaller sandwiches. I used some cucumber slices as a divider, and placed some hot dog 'octipi', and giraffe shaped cheese slices on a bed of carrot slices on the other side. I think I did a better hob on this land at Bento, as it was very tasty, and not bland at all.

Well, I hope you'll come back and see my Bento Journey on Mondays, Wednesdays, and Fridays!

Love and Lightning Bugs,
Photobucket